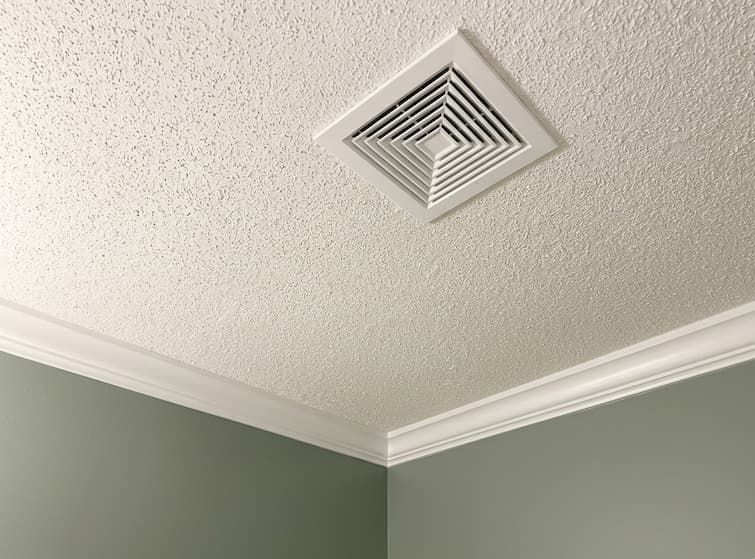
Texture Matching Is What Makes a Drywall Repair Disappear
Patch-It-Now matches existing wall and ceiling textures — knockdown, orange peel, skip-trowel, and smooth finishes — so repairs blend in with zero visible lines or shadows. Texture matching is the hardest part of any drywall repair, and it's the single reason a patch either disappears completely or stands out under the light forever. It's also the step most general handymen and contractors get wrong, because matching texture by eye and hand takes daily practice. We do it every day, across Lee's Summit and all of Jackson County, and it's the core of what we do.
We Match What's Already On Your Wall
Texture in the Kansas City metro isn't random — it tracks with when and where a home was built, and knowing those patterns is exactly the local expertise a generalist can't fake:
- Lee's Summit and Blue Springs subdivisions ('90s–2000s and newer) — almost all knockdown, on both walls and ceilings. It's the most-requested match we do.
- Newer construction in Grain Valley, Raymore, and the south metro — knockdown and fine orange peel, with new-build seam cracks and nail pops that need matching after they're fixed.
- Older Independence, Raytown, and central Kansas City homes — orange peel, skip-trowel, and genuine hand-textured plaster, all of which we match by hand.
- Smooth, flat modern walls — clean finishes where there's nowhere for a sloppy patch to hide, so the feathering and sanding have to be flawless.
Why Patches Show Even After You Paint
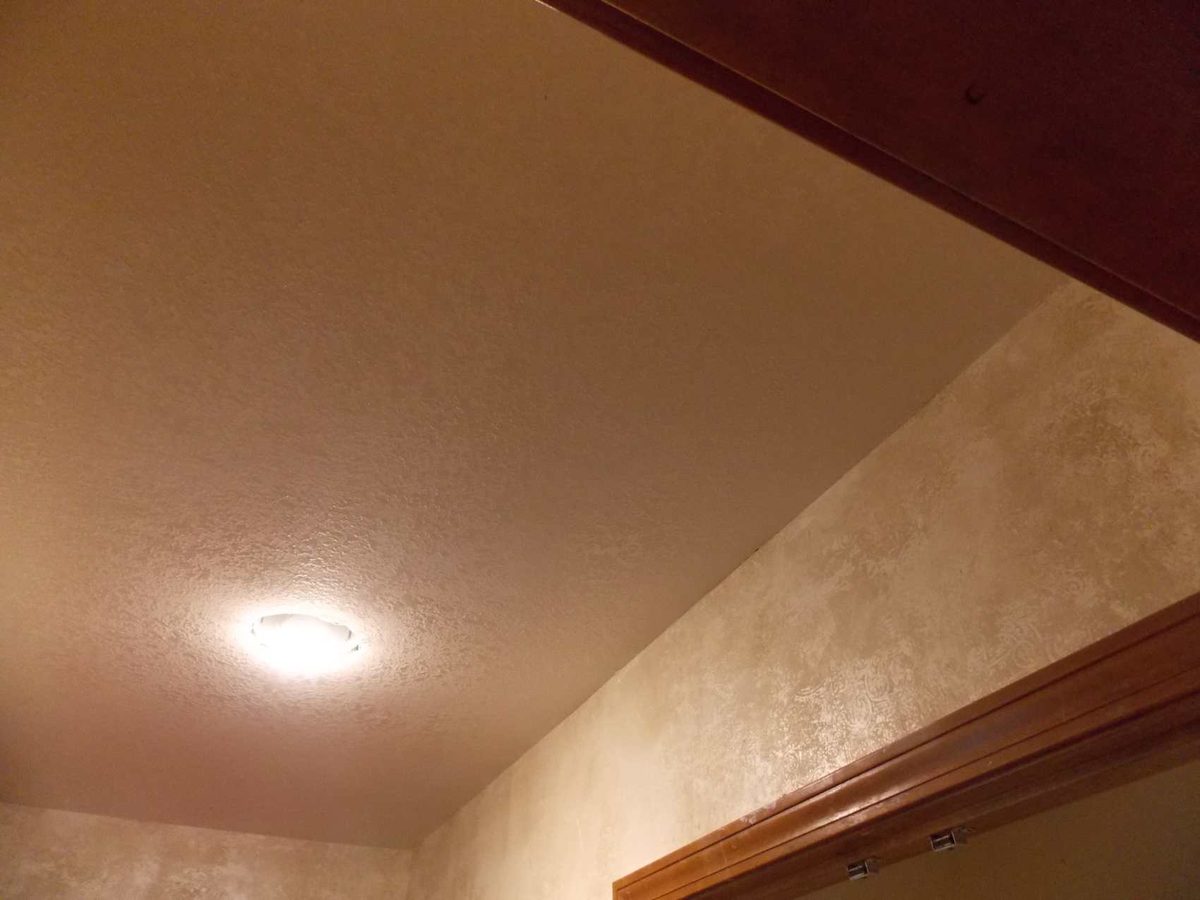
This is the most common frustration we get called to fix: someone patched a hole, painted over it, and the repair is still obviously there. Paint doesn't hide a texture mismatch — it makes it worse. If the patched area is smoother or coarser than the wall around it, raking light from a window or a lamp catches that difference and turns it into a shadow or a bright halo. The only way to make a repair vanish is to match the texture before you paint. We frequently get called to redo patches that were "already fixed" — and the fix is almost always the texture.
Our Texture-Matching Process
Step 1: Read the Existing Texture
We study the pattern, depth, and spray or trowel technique of the surrounding surface — knockdown knife angle, orange-peel droplet size, skip-trowel trowel width — so the match starts from the right tool, not a guess.
Step 2: Prep and Feather the Repair Flat
Before any texture goes on, the patch is mudded, feathered wide, and sanded dead flat. A texture applied over a lumpy patch will always show; the flat base is what makes the texture sit right.
Step 3: Apply, Knock Down, and Blend
We apply the matching texture, work the edges into the existing surface so there's no hard line where new meets old, and knock it down or trowel it to the exact profile of the rest of the wall. Then it's dusted and left ready for paint.
A texture match is "done" only when you can't point to the repair. We test the match, blend the edges into the existing surface, and don't call it finished until the patched area and the original wall read as one continuous surface.
Texture Matching Cost
On most repairs, texture matching is included in the flat-rate price of the job — it isn't a separate upcharge, because it's the part that makes the repair worth doing. For standalone texture work or a tricky hand-textured match, we'll quote a flat price for free before starting. See the drywall repair cost guide for typical ranges.
Why Homeowners Trust Us With the Hard Part
Patch-It-Now is a residential drywall specialist, and texture matching is the skill the whole business is built on. Founder Jose has been matching textures across Jackson County since 2014, and the business carries 83 five-star Google reviews from homeowners in Lee's Summit, Independence, Blue Springs, Raytown, Kansas City, and beyond. If you've got a patch that won't disappear, or you want a repair done right the first time, get in touch — most quotes come back within the hour.
Want to know which texture you have and how matching actually works? Read our guide: Knockdown vs Orange Peel vs Popcorn.